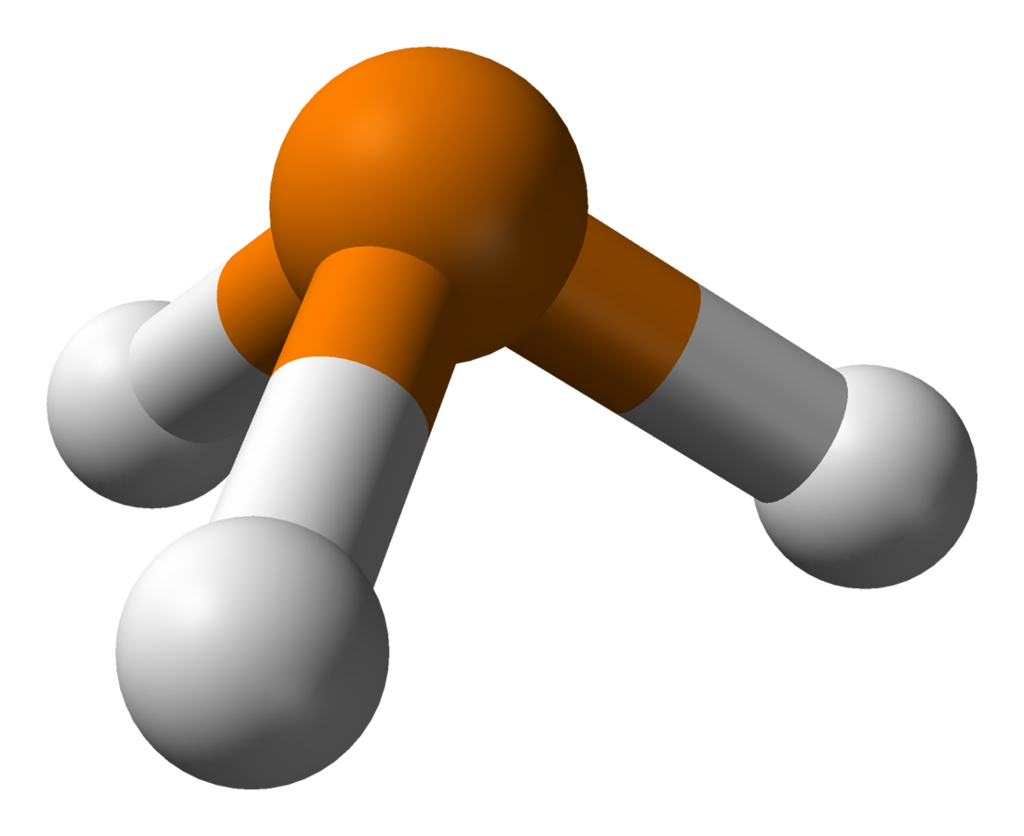
When it comes to safety in environments where phosphine (PH3) levels need to be monitored, the BW Solo gas detector offers accurate measurements and reliable performance. If the PH3 sensor in your BW Solo is nearing the end of its life or needs to be replaced, it’s essential to follow the proper procedure to ensure continued safety and functionality. The replacement PH3 sensor is designed to measure phosphine levels from 0-5 ppm, and replacing it is a straightforward process.
Here’s a guide to help you replace the PH3 sensor in your BW Solo gas detector:
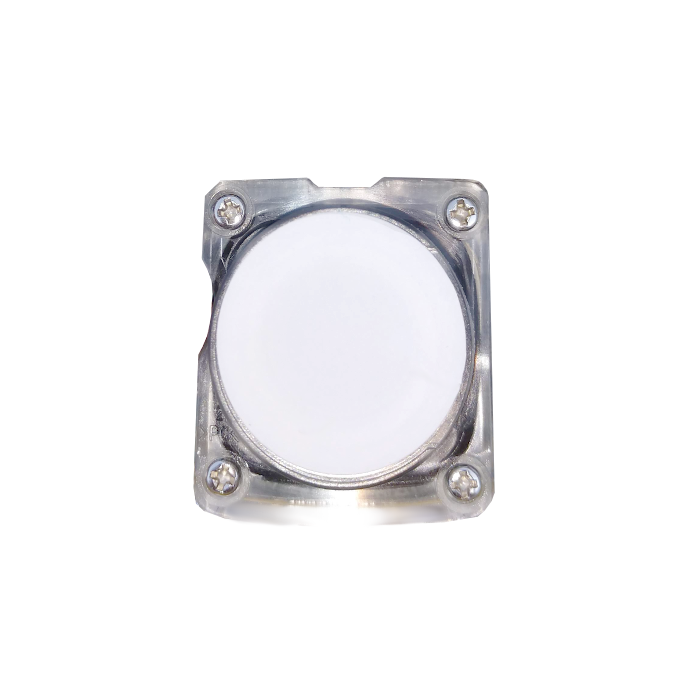
Features of the BW Solo PH3 Replacement Sensor:
Before diving into the replacement process, it’s important to understand the key features of the BW Solo 1-Series sensors:
- Fast Response Time: Due to the small size of the sensors, gas diffuses into them quickly, enabling rapid detection and response to changes in gas levels.
- Reliable Performance: The BW Solo sensors offer long-term reliability even in harsh and extreme environments.
- Long Life: The 1-Series sensors are designed to last up to two years with proper care, making them a cost-effective solution for ongoing monitoring.
- Easy Replacement: The sensors can be replaced without needing to expose the internal components of the BW Solo, making the process quick and simple.
The BW Solo PH3 sensor comes with a 1-year warranty, ensuring peace of mind for users.
Step-by-Step Instructions for Replacing the BW Solo PH3 Sensor:
Follow these simple steps to replace the PH3 sensor in your BW Solo gas detector:
1. Power Down the Detector
Ensure that the device is turned off before you begin. This will prevent any accidental activation or malfunction during the replacement process.
2. Remove the Front of the BW Solo
Use the calibration cap to safely remove the front of the BW Solo. This cap will protect the internal components while you work on the sensor.
3. Peel Off the Sensor Filter
Carefully remove the sensor filter from the device. The filter protects the sensor from debris and other contaminants.
4. Unscrew the Sensor Cover
Using a Phillip’s head screwdriver, unscrew the four screws securing the sensor cover to the BW Solo. Set the screws aside in a safe place to ensure they are not lost.
5. Remove the Old Sensor
Once the screws are removed, gently lift and remove the old sensor along with its cover. Take care not to damage any internal components.
6. Remove the Old Sensor
Push gently on the top of the sensor with your thumb, causing it to pop out of the sensor cover. This step will ensure the sensor is fully detached from the cover.
7. Remove the O-Ring
Remove the O-ring from the sensor cover. This O-ring seals the sensor and ensures the device remains air-tight and functional.
8. Install the New Sensor
Take the replacement PH3 sensor and line it up with the sensor cover. Make sure the winged corner of the sensor aligns with the winged corner of the cover.
9. Secure the Sensor Cover
Press the sensor cover halfway over the new sensor. This will help secure the sensor in place before moving on to the next steps.
10. Attach the O-Ring
Flip the unit over, and place the O-ring back over the sensor. Make sure it fits snugly into place, securing all four corners of the sensor.
11. Reattach the Sensor and Cover
Insert the sensor and its cover back into the BW Solo unit. Ensure it is properly aligned with the groove on the alarm side of the device.
12. Replace the Screws
Once the sensor and cover are back in place, replace the four screws to secure the sensor and cover.
13. Reinstall the Sensor Filter
Place the sensor filter back in position over the sensor to protect it from dust and debris.
14. Snap the Cover Back Into Place
Finally, snap the cover back into place to complete the sensor replacement.
Final Thoughts
Replacing the PH3 sensor in your BW Solo is a simple and essential task to maintain the accuracy and reliability of your gas detection device. The process is quick, requiring minimal tools and effort, and ensures that you continue to have a safe, functioning detector for monitoring phosphine levels. Regular sensor replacement will keep your BW Solo working at optimal levels, providing the protection you need in hazardous environments.
If you need a replacement PH3 sensor for your BW Solo, make sure to follow these steps carefully and refer to your user manual for any additional information.
You can find this product here: https://www.gas-sensing.com/bws1-pcb-p.html