When working in hazardous environments where hydrogen sulfide (H₂S) is a concern, having a reliable gas detector is essential. The BW Solo Replacement H₂S Extended Range Sensor ensures that your BW Solo remains accurate and effective in monitoring H₂S levels up to 500 ppm.
Features of the BW Solo 1-Series Sensors
The BW Solo 1-Series sensors are designed for fast response, durability, and long-lasting performance, even in extreme conditions. Thanks to their compact design, they provide quick gas diffusion, allowing real-time detection of fluctuating gas levels. These sensors boast:
- Extended measurement range: 0–500 ppm of H₂S
- Fast response time: Immediate detection of gas level changes
- Long lifespan: Up to two years of operational reliability
- Easy replacement: Swap sensors without exposing internal components
- 1-Year Warranty: Assurance of quality and performance
Step-by-Step Guide to Replacing the H₂S Sensor
Regular maintenance and timely sensor replacement are essential for ensuring the accuracy of your BW Solo detector. Follow these steps to safely replace your H₂S extended range sensor:
1. Power Down the Detector
Turn off your BW Solo before starting the replacement process.
2. Remove the Front Cover
Use the calibration cap to carefully detach the front cover of the detector.
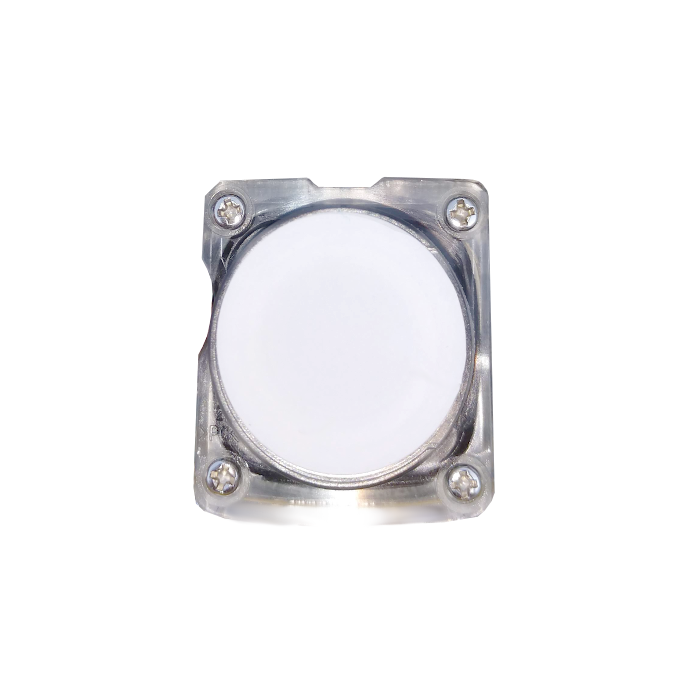
3. Remove the Sensor Filter
Gently peel off the sensor filter to access the sensor compartment.
4. Unscrew the Sensor Cover
Use a Phillips head screwdriver to remove the four screws securing the sensor cover.
5. Take Out the Old Sensor
Carefully lift the sensor cover and remove the old sensor.
6. Detach the Sensor from the Cover
Press the top of the old sensor with your thumb until it pops out of the cover.
7. Remove the O-Ring
Take out the O-ring from the sensor cover.
8. Align the New Sensor
Line up the winged corner of the replacement sensor with the winged corner of the cover.
9. Partially Press the Cover into Place
Press the sensor cover over the new sensor halfway.
10. Reinsert the O-Ring
Flip the unit over and fit the O-ring over the sensor, ensuring all four corners are secured.
11. Reinstall the Sensor & Cover
Place the sensor and cover back into the BW Solo, aligning it with the groove on the alarm side.
12. Secure the Screws
Tighten the four screws to secure the sensor in place.
13. Replace the Sensor Filter
Reattach the sensor filter over the newly installed sensor.
14. Snap the Cover Back On
Finally, snap the front cover back into place.
By following these simple steps, you can quickly and safely replace the BW Solo H₂S Extended Range Sensor, ensuring continued protection in hazardous environments. Regular maintenance helps keep your gas detector in top working condition, providing accurate and reliable readings when you need them most.
You can find this product here: https://www.gas-sensing.com/bws1-pcb-h-2.html